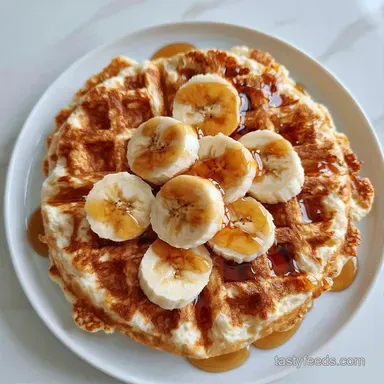
Caramelized Banana Waffles
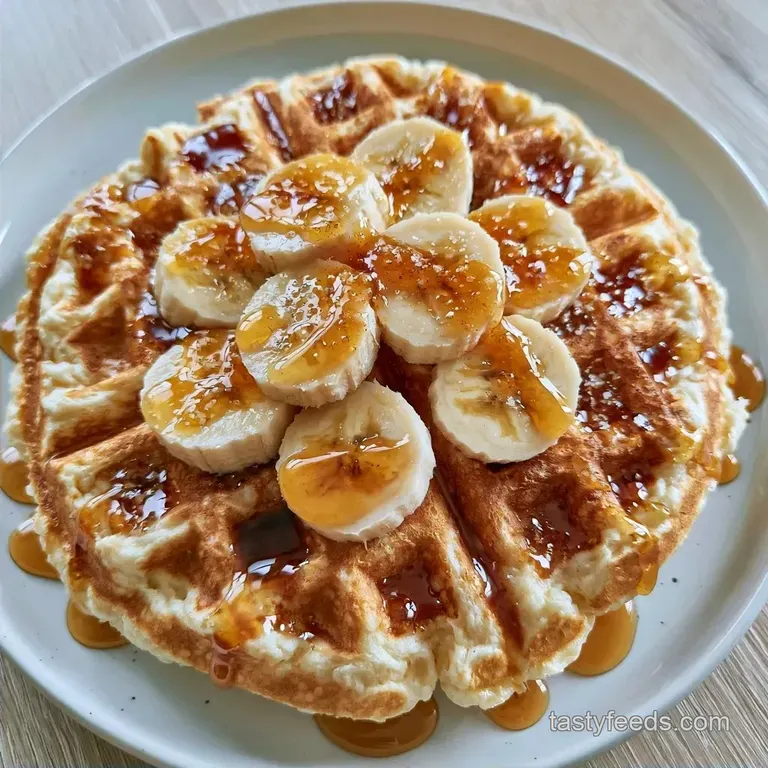
- Time: 10 min active + 15 min cooking
- Flavor/Texture Hook: Deep mahogany crust with a tender center
- Perfect for: Lazy Sunday brunch or toddler breakfasts
The scent of toasted fruit and warm cinnamon fills the air the moment the iron shuts. It is a comforting, inviting aroma that defines a slow Saturday morning. I usually whip these up just as the children are waking up and the coffee is still brewing.
Many people struggle with fruit based batters that turn out flat or gummy. I spent a lot of time perfecting the balance of flour and mashed fruit so these waffles actually maintain their structure.
These Banana Waffles are a simple weekday meal that feels like a special occasion. They possess enough natural sweetness that you can easily skip the heavy syrup.
Quick Specs for Banana Waffles
Right then, let's get the basics out of the way. This recipe makes 16 waffles (about 4 inches each). It's designed for a standard waffle iron, but the timing stays mostly the same across different brands.
For the best results, use bananas that look a bit depressing. I'm talking about the ones with plenty of black spots. Those are the ones that provide the most sweetness and mash into a smooth paste without chunky bits.
How to Actually Nail This
- Natural Sugars: The fructose in overripe bananas browns quickly. This creates a crisp outer shell instead of a pale, soft waffle.
- Airy Lift: Whisking the eggs before adding the milk traps air bubbles. These bubbles expand when they hit the heat, keeping the inside light.
| Ingredient State | Resulting Texture | Best Use Case |
|---|---|---|
| Fresh Mashed Banana | Tender and moist | Classic brunch |
| Frozen/Thawed Banana | Denser and sweeter | Extra sweet treat |
| Pureed Banana | Very uniform crumb | For toddlers/babies |
The Building Blocks
First, double check your supplies. In my experience, using whole milk creates a much richer taste than skim.
What Each Ingredient Does
| Component | Purpose | Substitute Notes |
|---|---|---|
| Overripe Bananas | Natural Sweetness & Binding | Thawed frozen bananas work well |
| Baking Powder | Leavening & Volume | Baking soda combined with lemon juice |
| Whole Milk | Hydration & Fat | Almond milk introduces a nutty flavor |
| Melted Butter | Taste & Texture | Coconut oil for a different scent |
Ingredients & Substitutes
- 2 cups all purpose flour Why this? It creates the necessary framework to support the fruit. (Substitute: 1:1 gluten-free blend)
- 2 tsp baking powder Why this? Keeps the waffles fluffy rather than flat. (Substitute: 1/2 tsp baking soda + 1 tsp cream of tartar)
- 1/2 tsp salt Why this? Offsets the sugary notes of the bananas. (Substitute: Fine sea salt)
- 1 tsp ground cinnamon Why this? Adds a cozy warmth that complements the fruit. (Substitute: Nutmeg or Allspice)
- 2 large overripe bananas, mashed Why this? The high sugar content helps with caramelization. (Substitute: 1 cup unsweetened applesauce)
- 2 large eggs Why this? Acts as a binder and assists with the rise. (Substitute: 2 flax eggs for vegan)
- 1 1/2 cups whole milk Why this? Gives the mixture a smooth, velvety texture. (Substitute: Oat milk)
- 1/3 cup unsalted butter, melted and cooled Why this? Adds depth and prevents the batter from sticking. (Substitute: Melted coconut oil)
- 1 tsp vanilla extract Why this? Boosts the fragrant quality of the waffles. (Substitute: Maple extract)
Equipment Needed
Standard home equipment is all you need. I recommend a medium bowl for the wet components and a larger one for the dry.
A strong fork works best for mashing the bananas. To ensure the flour is lump free, a whisk is very helpful. Finally, use a rubber spatula to gently fold the batter, preventing the gluten from overworking.
Step-by-step Instructions
Phase 1: Prepping the Batter
- Whisk Dry Ingredients. In a large bowl, combine the flour, baking powder, salt, and cinnamon. Whisk until the cinnamon is evenly distributed.
- Mash and Mix. In a medium bowl, mash the bananas with a fork until smooth. Whisk in the eggs, milk, melted butter, and vanilla extract until the mixture is velvety. Note: Ensure butter has cooled slightly so it doesn't scramble the eggs.
- Combine. Pour the wet mixture into the dry ingredients. Stir gently with a spatula just until combined. Stop the moment the flour streaks disappear.
Phase 2: The Golden Sear
- Heat the Iron. Preheat your waffle iron to medium high. Lightly grease with cooking spray or butter.
- Pour and Spread. Pour about 1/4 cup of batter onto the center of the iron.
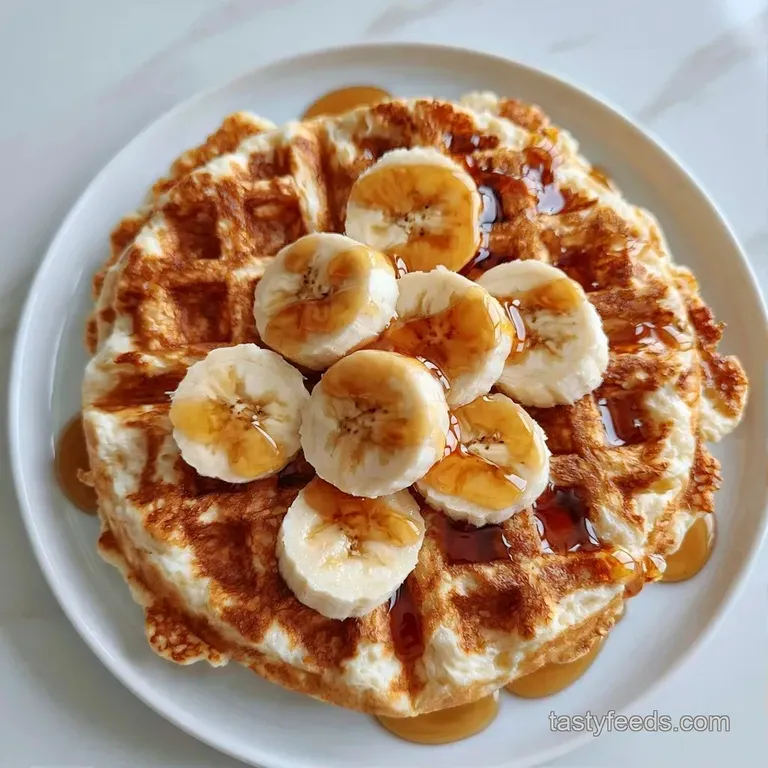
- The Visual Cue. Close the lid and cook until steam stops billowing from the sides and the exterior is deep mahogany brown. This usually takes about 3 to 5 minutes depending on your iron.
Phase 3: Finishing and Holding
- Remove Carefully. Lift the waffles out with a fork or tongs.
- Keep Warm. Place them in a single layer on a wire rack over a baking sheet in a 200°F (93°C) oven. Note: The wire rack prevents the bottom from getting soggy.
How to Actually Nail This
The trick here is the temperature of your iron. If it's too cool, the batter just steams and stays pale. You want that sizzle the moment the batter hits the plate.
Also, don't over mix. If you stir the batter until it's perfectly smooth, you'll develop too much gluten. That leads to a rubbery texture rather than a fluffy one. A few small lumps are totally fine.
| For this Goal | Make this Change |
|---|---|
| For a firmer set | Use 2 1/4 cups flour |
| For more sweetness | Add 1 tbsp brown sugar |
| For a lighter crust | Use vegetable oil instead of butter |
What Can Go Wrong
Sticking to the iron
This usually happens if the iron isn't hot enough or if the grease has burned off. I've found that applying a thin layer of melted butter between every two waffles helps a lot. Make sure the indicator light actually says "Ready" before you pour.
Soggy centers
If the middle feels undercooked, you might be opening the lid too early. Resist the urge to peek. The steam is your guide. When the steam disappears, the moisture has evaporated from the center, leaving it set and fluffy.
Burning too fast
Overripe bananas have more sugar, which can burn if the heat is on "High." If your Banana Waffles are turning black before they're cooked through, drop your setting to medium. You can also add a tiny bit more milk to thin the batter slightly.
Preservation Secrets
To prevent them from getting soft, avoid leaving leftovers on a plate. Instead, let them cool fully on a rack.
In the Fridge: Keep them in a container with a paper towel to absorb moisture for up to 3 days.
In the Freezer: These freeze wonderfully. Use parchment paper between each waffle to keep them from sticking together, then store them in a freezer safe bag for 2 months.
Eco-Friendly Tip: Toss the banana peels into your compost. Alternatively, you can steep them in hot water to create a potassium rich tea for your houseplants.
Mix It Up
I love these as they are, but you can easily tweak them. For a protein power up, swap 1/2 cup of flour for a scoop of vanilla protein powder. Just be careful not to over mix, as protein powder can make the batter dry quickly.
If you're looking for something gluten-free, a 1:1 almond flour and rice flour blend works well. It changes the texture slightly, making the Banana Waffles a bit more tender and less "springy."
For a different morning vibe, you might prefer banana pancakes if you don't feel like cleaning the waffle iron. , if you want something you can grab on the go, try these banana muffins for a quicker weekday fix.
How to Serve and Enjoy
The beauty of Banana Waffles is how versatile they are. I usually keep it simple with a pat of salted butter and a drizzle of real maple syrup. The salt in the butter really makes the banana flavor pop.
For a more decadent treat, add a handful of blueberries or chocolate chips directly into the batter after you've mixed the wet and dry ingredients. Top the finished waffle with a dollop of Greek yogurt and a sprinkle of cinnamon.
If you're serving these for toddlers, slice them into "fingers" and serve with a side of sliced strawberries. They're soft enough for little ones but have enough structure to be eaten with their hands. Trust me, these Banana Waffles will be the highlight of their morning.
Recipe FAQs
Can I add mashed bananas to a standard waffle mix?
Yes, just stir them in gently. Be careful not to over mix the batter or the waffles will become tough.
Is it true that banana bread batter works in a waffle iron?
Not true. Banana bread batter is typically too thick and sugary, which causes it to stick or burn before the center cooks.
What is the best way to prep overripe bananas?
Mash the fruit with a fork until the texture is smooth. Whisk this paste into your eggs and milk before combining with dry ingredients.
Will adding bananas to pancake batter make it too runny?
It often does because mashed bananas add significant moisture. You can balance this by adding a touch more flour, similar to the texture balance used in almond flour banana bread.
Where should I store waffles to keep them warm?
Place them in a single layer on a wire rack over a baking sheet. Set your oven to 200°F (93°C) to maintain crispness without overcooking.
Could I use only three ingredients for these waffles?
This specific recipe requires more than three ingredients to achieve the correct lift and flavor. You need the baking powder and flour to ensure they aren't too dense.
How to get a deep mahogany brown color on the exterior?
Preheat your waffle iron to medium high and grease it well. Cook until the steam stops billowing from the sides of the iron.
Banana Waffles in 25 Minutes