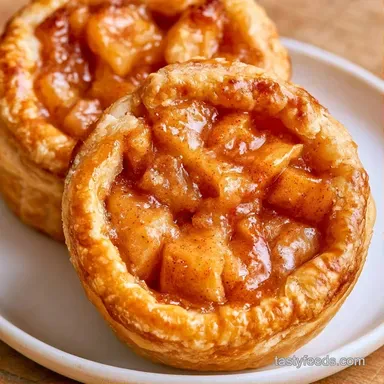
Guilt-Free Mini Apple Pies
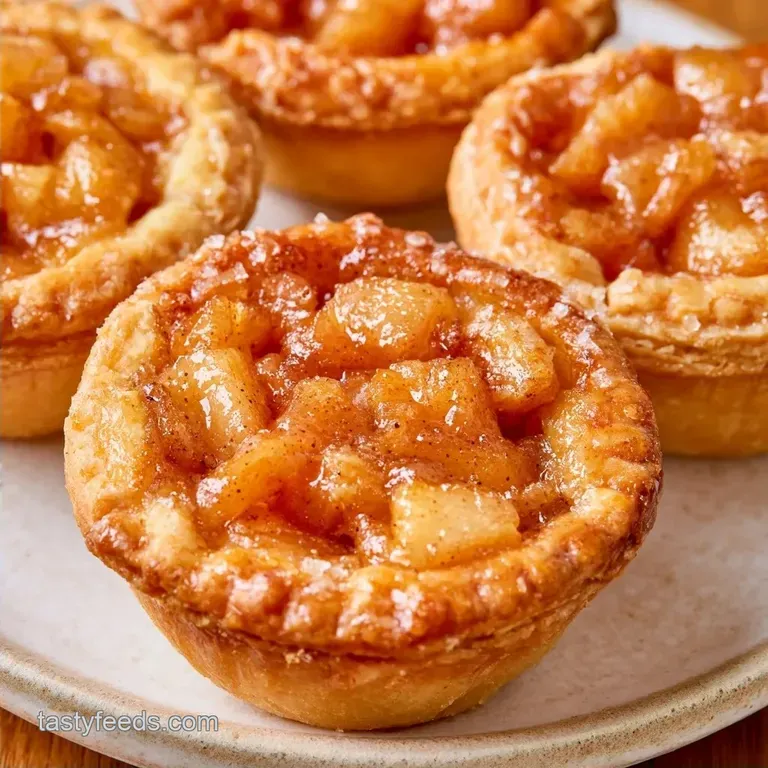
- Time: 20 minutes hands-on plus 30 minutes in the fridge
- The Highlight: A flaky, buttery shell paired with spiced cinnamon apples
- Ideal for: Festive celebrations or snug fall get-togethers
Ever noticed how some mini pies end up with a limp, pale base while others offer a satisfying crunch? It’s a common struggle. For a while, I couldn't figure out why mine remained moist at the bottom, regardless of how high I cranked the oven temperature.
Everything changed once I stopped preparing the filling like a stew and began thinking of it as a thick jam. Dicing the apples into small cubes and allowing them to sit ensures the liquids reduce and thicken before they ever touch the pastry.
These Mini Apple Pies deliver all the comforting warmth of fall in a bite sized portion that isn't too heavy. Your home will smell of melted butter and cinnamon, and you can skip the hassle of wrestling with a giant 12 inch crust.
Making Crispy Mini Apple Pies
Why the Texture Works
- The Apple Duo: Mixing Granny Smith and Golden Delicious creates a natural balance of tart and sweet. This keeps the flavor bright, similar to how a Classic Apple Crisp recipe balances fruit and sugar.
- Cold Fat: Keeping the butter chilled creates tiny steam pockets in the oven. These pockets are what make the crust flake apart.
Essential Baking Gear
You don't need a professional setup here. A standard 12 cup or 24 cup muffin tin is the heavy lifter. If you have a food processor, it makes the crust faster, but a pastry cutter works just as well.
I suggest using a 3 inch round cutter. If you don't have one, a wide mouth drinking glass works in a pinch. Just make sure your surfaces are well floured so the dough doesn't stick and tear.
The Ingredient Breakdown
The goal is a filling that stays put and a crust that shatters. Coconut sugar adds a deeper, caramel like note than white sugar, which pairs well with the nutmeg.
| Ingredient | What It Does | Best Swap |
|---|---|---|
| Cold Butter | Creates flaky layers | Chilled coconut oil |
| Cornstarch | Thickens apple juices | Arrowroot powder |
| Lemon Juice | Prevents browning | Apple cider vinegar |
| Coconut Sugar | Adds caramel depth | Brown sugar |
Baking Guide and Specs
Depending on how much time you have, you can pivot your approach. Most people prefer the homemade crust for the flavor, but there are shortcuts if you're in a rush.
| Approach | Crust Type | Prep Time | Result |
|---|---|---|---|
| Fast | store-bought | 10 mins | Uniform, softer crust |
| Classic | Homemade | 20 mins | Flaky, buttery, rich |
The result depends on your goal for the party. If you want a quick snack, go fast. If you want a memory making dessert, go classic.
| Goal | What to change |
|---|---|
| Tarter filling | Add 1 tbsp more lemon juice |
| Crunchier top | Use coarse turbinado sugar |
| Softer crust | Reduce chilling to 15 mins |
Making the Pies
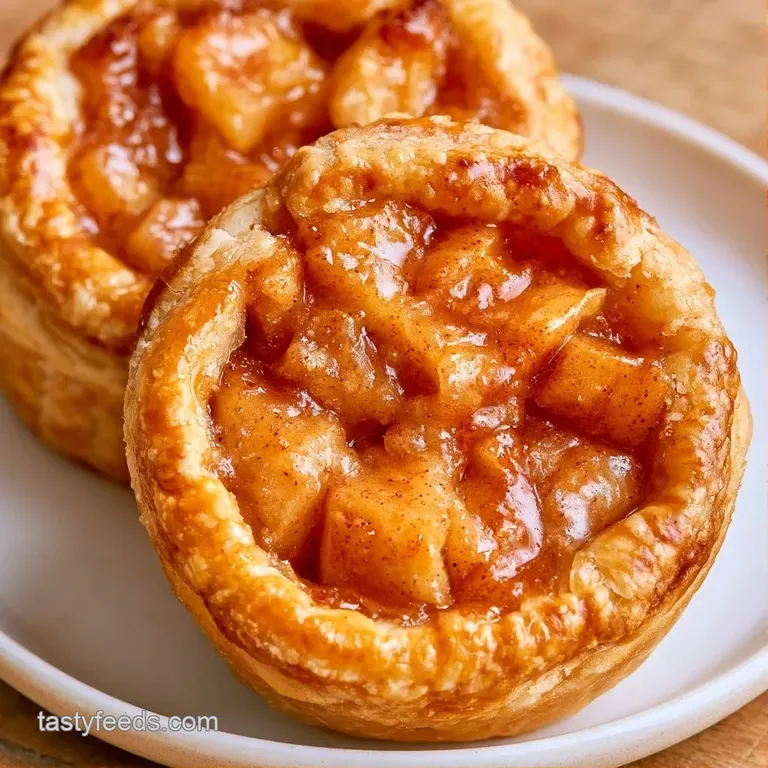
Preparing the Filling
- Peel and core the apples. Cut them into very small, uniform cubes about 1/4 inch. Note: Small cubes ensure the filling cooks through in the short baking time.
- Toss the diced apples with lemon juice, coconut sugar, cinnamon, nutmeg, and cornstarch. Stir until the fruit is evenly coated.
- Let the filling sit for 10 minutes. Wait until you see a silky syrup forming at the bottom of the bowl.
Rolling the Dough
- Pulse flour, salt, and cold butter in a food processor. Stop when the mixture looks like coarse crumbs with some pea sized butter pieces left.
- Gradually add ice water, one tablespoon at a time. Stir until the dough just begins to clump.
- Shape the dough into a disk. Wrap it in plastic and refrigerate for 30 minutes.
- Roll the dough on a floured surface to 1/8 inch thickness. Use your 3 inch cutter to stamp out 24 circles.
Assembling and Baking
- Press each dough circle into the cups of a greased muffin tin.
- Spoon the apple mixture into each shell. Fill them nearly to the top but leave a tiny gap.
- Brush the edges with beaten egg. Bake 20 minutes until the crust is golden and the filling bubbles.
Fixing Common Issues
Filling leaks are the most common headache with Mini Apple Pies. Usually, this happens because the dough wasn't pressed firmly against the sides of the tin. If the edges are loose, the syrup finds a way out.
Soggy bottoms usually come from too much moisture in the apples. Letting the fruit rest for 10 minutes helps, but you can also dust the bottom of the crust with a pinch of cornstarch.
| Problem | Fix |
|---|---|
| Soggy bottoms | Dust base with cornstarch |
| Filling leaks | Press edges firmly into tin |
| Burnt edges | Lower temp by 25°F |
Adjusting the Batch Size
When making a smaller batch, like 12 pies, use a smaller muffin tin and reduce the bake time by about 4 minutes. Since you're using half an egg, beat it in a cup first and then measure out a tablespoon.
For a double batch of 48, don't crowd your oven. Work in batches and lower the temperature by 25°F to ensure the centers cook before the edges burn. I recommend increasing salt and cinnamon by only 1.5x instead of doubling them, as these flavors can become overpowering.
Storing Your Treats
Store these in a closed container in the refrigerator for 3 to 4 days. To restore their crispness, warm them in a toaster oven at 350°F for 3 minutes.
If freezing, wrap each pie individually in foil and keep them in the freezer for 2 months. Bake directly from frozen, adding roughly 5 minutes to the total time.
To avoid waste, save the apple peels. Simmer them in water with a cinnamon stick for a simple autumn tea.
Creative Flavor Twists
If you want a different base, these Mini Apple Pies work great with puff pastry. Just roll it thin and cut your circles. It's a faster route, similar to the ease of making Banana Muffins for a quick treat.
You can also change the flavor profile by adding a pinch of ground ginger or cardamom to the apple mix. For a bit of crunch, top the pies with a crumble of oats and brown sugar before they go in the oven.
If you're using refrigerated biscuits, flatten them with your palm before pressing them into the tin. The result is a denser, more bread like crust that holds a lot of filling.
Best Ways to Serve
The contrast in temperature is truly the highlight. Enjoy your Mini Apple Pies while warm, topped with creamy vanilla bean ice cream. As it melts over the warm cinnamon apples, it forms a rich, decadent sauce.
For a lighter touch, a dollop of whipped cream and a sprinkle of cinnamon works perfectly. To impress guests at a gathering, arrange the pies on a wooden platter and add a few fresh mint leaves for a splash of color.
These tiny desserts are essentially love made edible. Whether they are for family or a potluck, they always bring a sense of comfort to the table.
Recipe FAQs
What pastry is best for mini apple pies?
Use a homemade buttery crust. Chilling the dough ensures the butter stays cold for a flakier result.
Where can I find mini apple pies?
Visit local bakeries or the frozen dessert section of your grocery store. Making them at home allows you to use fresh seasonal fruit.
How to prepare the crust quickly?
Pulse flour, salt, and cold butter in a food processor until the mixture resembles coarse crumbs. Slowly add ice water until the dough clumps together.
Which apple varieties work best?
Combine Granny Smith and Golden Delicious for a balance of tart and sweet. Dice them into 1/4 inch cubes so they cook evenly.
Do I need a special mold?
Use a greased muffin tin to hold the shapes. If you enjoyed the simple pan preparation in our banana cupcakes, the process is very similar here.
Is it true that store-bought dough tastes the same?
That's a myth. Homemade dough using chilled butter provides a superior flavor and a much crispier texture.
Can I freeze these treats?
Wrap individual pies in foil and store them in a freezer bag for two months. Bake them directly from frozen and add five minutes to the cook time.
Why must the dough be refrigerated?
Chilling the dough for 30 minutes prevents it from shrinking during baking. This step also makes the pastry easier to roll to a 1/8 inch thickness.
Mini Apple Pies with Coconut Sugar