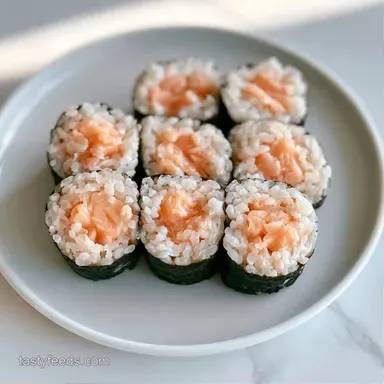
Cooked Salmon Sushi Roll with Cream Cheese
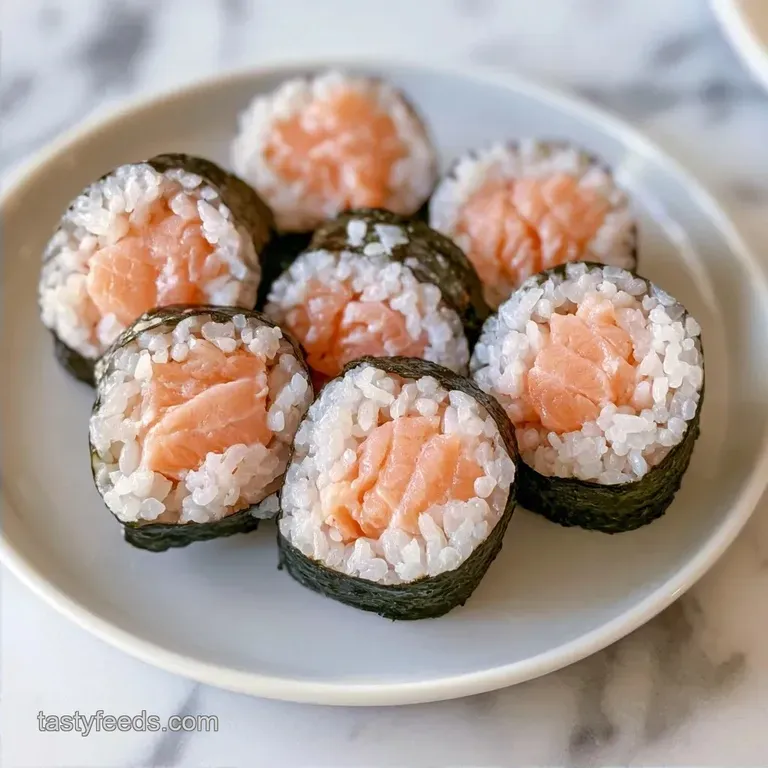
- Time: 15 min active + 20 min cooking + 35 min resting/rolling
- Flavor/Texture Hook: Warm, flaky salmon paired with cool, crisp cucumber
- Perfect for: People who hate raw fish or quick weeknight dinner guests
Making a Cooked Salmon Sushi Roll
The smell of salmon hitting a hot pan is where this whole thing starts. There is nothing worse than a sushi roll that tastes like wet cardboard because the rice was overcooked or the fish was bland. I used to struggle with rice that turned into a gummy paste, making the whole roll feel heavy and depressing.
This version solves that. By searing the salmon, you get those golden, crisp edges that add a depth you just can't get from raw fish. It's a practical approach for anyone who wants the experience of a Cooked Salmon Sushi Roll without worrying about sushi grade sourcing.
Expect a roll that balances the warmth of the fish with the snap of fresh cucumber. It's a straightforward build that doesn't require a professional kitchen, just a few basic tools and a bit of patience while the rice cools.
Quick Recipe Specs
This recipe focuses on efficiency. You don't need hours of prep, but you do need to respect the cooling time for the rice so you don't melt your nori sheets.
- Prep time: 15 minutes
- Cook time: 20 minutes
- Total time: 1 hour 10 minutes
- Yield: 8 servings
The Building Blocks
Getting the base right is everything. If the rice is too wet, the nori tears. If the salmon is overcooked, it becomes rubbery.
- Vinegar Seasoning
- The acidity breaks down the starch just enough to keep grains separate.
- Searing the Salmon
- High heat creates a crust that adds a savory punch to the filling.
- Cooling the Rice
- Room temperature rice prevents the seaweed from becoming soggy.
| Feature | Fresh Raw Salmon | Cooked Salmon Shortcut |
|---|---|---|
| Prep Time | Minimal | 20 min searing |
| Risk Level | High (Bacteria) | Low (Fully Cooked) |
| Flavor | Clean, buttery | Smoky, savory |
What Each Ingredient Does
| Ingredient | What It Does | Best Swap |
|---|---|---|
| Short grain rice | Provides the sticky structure | Calrose rice |
| Rice vinegar | Adds tang and preserves texture | Apple cider vinegar + pinch of sugar |
| Nori | Holds the roll together | Soy wraps |
| Cream cheese | Adds richness and binds filling | Mashed avocado |
Basic Equipment Needed
You don't need a fancy kit to make this work. A few staples from any kitchen will do.
- Bamboo rolling mat: This is the only "special" tool. If you don't have one, a clean kitchen towel works in a pinch.
- Non stick skillet: Essential for searing the salmon without it sticking to the pan.
- Fine mesh strainer: For washing the rice until the water is clear.
- Sharp knife: A non serrated knife is best for clean cuts.
How to Make It
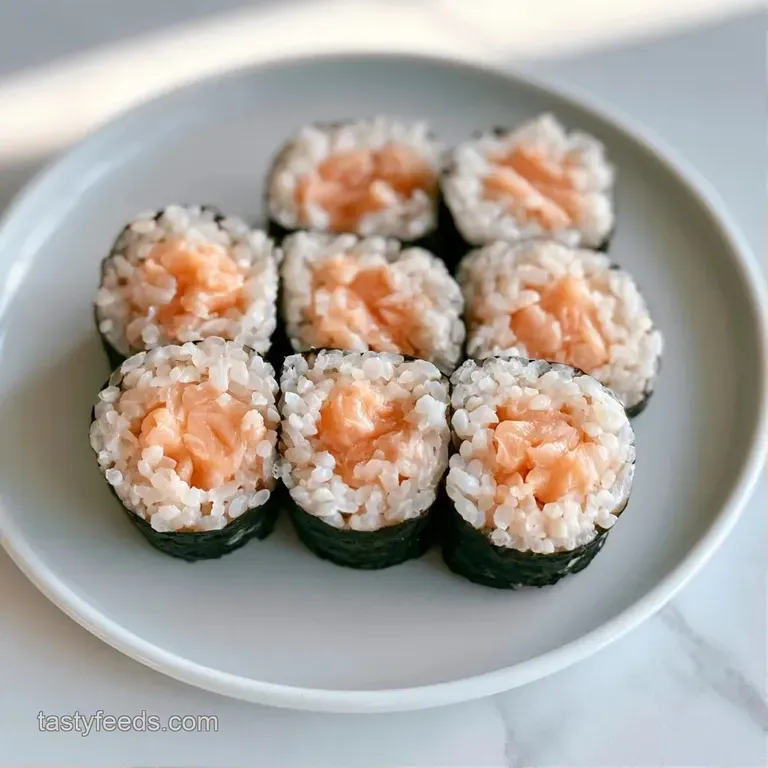
Follow these steps closely. The timing on the salmon is the most important part to avoid drying out the fish.
Phase 1: Preparing the Base
- Wash the sushi rice in a fine mesh strainer under cold water until the water runs clear. Note: This removes excess starch to prevent gumminess.
- Combine rice and water in a rice cooker. Once cooked, let it steam for 10 minutes.
- Gently fold in the rice vinegar, sugar, and salt using a slicing motion while the rice is hot. Let it cool to room temperature.
Phase 2: Cooking the Salmon
- Heat olive oil in a non stick skillet over medium high heat. Season salmon fillet with salt and pepper.
- Sear the salmon for 4-5 minutes per side until edges are golden and the center is opaque.
- Allow salmon to cool slightly, flake into small chunks in a bowl, and stir in Japanese mayo and Sriracha until creamy.
Phase 3: Rolling and Finishing
- Place a sheet of nori on a bamboo mat. Spread a thin, even layer of rice over the nori, leaving a 1 inch border at the top.
- Lay a strip of cream cheese, 3-4 strips of cucumber, a slice of avocado, and a spoonful of the salmon mayo mixture across the center.
- Using the mat, roll tightly over the fillings, applying firm, even pressure.
- Wipe the knife with a damp cloth between cuts. Slice the roll into eight pieces.
Troubleshooting Guide
Most issues with a Cooked Salmon Sushi Roll happen during the rolling or cutting phase.
| Issue | Solution |
|---|---|
| Why Your Rice Is Sticking | If the rice clings to your hands, it's usually because it's too warm or you aren't using enough water on your fingers. Keep a bowl of water with a splash of vinegar nearby to dip your fingertips in. |
| Why Your Roll Falls Apart | Loose rolls usually happen because of overfilling. It's tempting to pile on the salmon, but too much filling prevents the nori from sealing. Stick to a thin line of ingredients. |
| Why the Nori Is Chewy | If the seaweed feels rubbery, it's often due to the rice being too hot when spread. Ensure the rice has reached room temperature before it touches the nori. |
Mix It Up
Once you have the base down, you can tweak the flavors. This Cooked Salmon Sushi Roll is a great canvas for other additions.
Chef's Note: Try adding a teaspoon of toasted sesame seeds to the rice for a nuttier flavor. It adds a tiny bit of crunch that pairs well with the cream cheese.
Looking for a Healthy Swap?
You can replace the cream cheese with a thick layer of mashed avocado or hummus. This reduces the saturated fat while keeping the creamy texture.
Need a Spicy Kick?
Double the Sriracha in the salmon mix or add thin slices of fresh jalapeño to the center of the roll.
| Original Ingredient | Substitute | Why It Works |
|---|---|---|
| Cream Cheese (115g) | Avocado (1 medium) | Similar creaminess. Note: Adds a grassier, fresh taste |
| Japanese Mayo (30g) | Greek Yogurt (30g) | Tangy and thick. Note: Lower fat, slightly more acidic |
| Cucumber (150g) | Red Bell Pepper (150g) | Same crunch. Note: Adds sweetness and bright color |
Keeping It Fresh
Sushi doesn't stay great forever because the rice hardens in the fridge.
Storage: Wrap rolls tightly in plastic wrap and store in the fridge for up to 2 days. The rice will firm up, so don't expect that same softness.
Freezing: I don't recommend freezing these. The cucumber and avocado will turn into a watery mess once thawed.
Zero Waste: Don't toss the cucumber ends or avocado pits. Use the cucumber scraps in a quick pickle with some of your leftover rice vinegar. If you have leftover salmon mayo, it makes a great dip for crackers.
Pairing Ideas
Since the salmon and cream cheese are quite rich, you need something to cut through that fat.
A side of pickled ginger and wasabi is a must. For a dipping sauce, I highly recommend a Sauce in 20 Minutes recipe because it's less salty than the store-bought versions.
If you're serving this as a full meal, a light miso soup or a simple seaweed salad works best. The acidity in a vinegar based salad cleans the palate between bites of the creamy salmon.
Key Techniques Explained
A few small habits make a huge difference in the final result of your Cooked Salmon Sushi Roll.
The Damp Cloth Trick: Wiping your knife with a damp cloth after every single cut is not just for looks. It removes the sticky rice starch from the blade, allowing it to slide through the next piece without squishing the roll.
The Slicing Motion: When adding vinegar to rice, don't stir it like a porridge. Use a cutting motion with a wooden spatula. This coats the grains without smashing them, which keeps the texture light. If you want a more detailed guide on the rice process, check out this method for quick cooked sushi rice.
The Searing Point: Don't move the salmon too much in the pan. Let it sit for the full 4-5 minutes to develop a proper crust. This creates the flavor contrast that makes the cooked version better than the raw one for many people.
Debunking Sushi Myths
Myth: Searing seals in juices. Searing doesn't actually create a waterproof seal. Moisture escapes regardless of how you sear. The crust is about flavor and texture, not about keeping the fish "juicy."
Myth: You need professional grade fish for sushi. While raw sushi requires specific freezing processes to kill parasites, a Cooked Salmon Sushi Roll uses heat to make the fish safe. You can use a standard supermarket salmon fillet for this recipe without any worry.
Myth: Sushi rice is just regular white rice. Regular long grain rice doesn't have enough amylopectin (a type of starch) to stick together. If you use Basmati or Jasmine, your roll will simply fall apart. Always use short grain or specifically labeled sushi rice.
Recipe FAQs
How to make homemade sushi without raw fish?
Sear the salmon fillet in olive oil. Cook it for 4-5 minutes per side until the center is opaque, then mix with Japanese mayo and Sriracha for a safe, flavorful filling.
Why is my sushi rice sticking to my hands?
The rice is likely too warm or your fingers are too dry. Keep a bowl of water with a splash of rice vinegar nearby and dip your fingertips in frequently while spreading.
How to keep the sushi roll from falling apart?
Avoid overfilling the roll. Use a thin line of ingredients across the center of the rice to ensure the nori can seal tightly.
Can I make these sushi rolls without seaweed or a bamboo mat?
Yes, you can use plastic wrap as a substitute. Place the rice and fillings on a piece of plastic wrap and roll tightly by pulling the edges, though the shape may be less uniform.
Is this the best sushi recipe for beginners?
Yes, because it eliminates the risk of raw fish. It focuses on basic searing and rolling techniques. If you enjoyed mastering the rolling technique here, see how it applies to our spicy crab rolls.
How to make sushi with no rice?
Wrap the fillings in extra nori sheets. Simply omit the sushi rice and place the salmon mixture, avocado, and cucumber directly on the nori.
How to tell when the salmon is perfectly cooked for this roll?
Look for golden edges and an opaque center. Sear the fillet for 4-5 minutes per side in a medium high skillet until it reaches this consistency.
Cooked Salmon Sushi Roll for 8 Servings