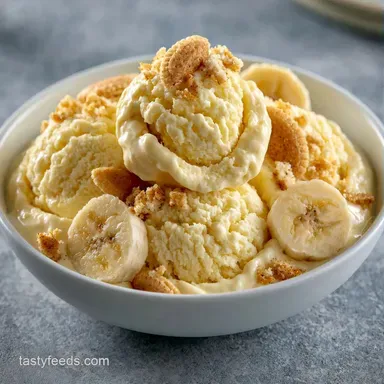
Creamy Banana Pudding Ice Cream
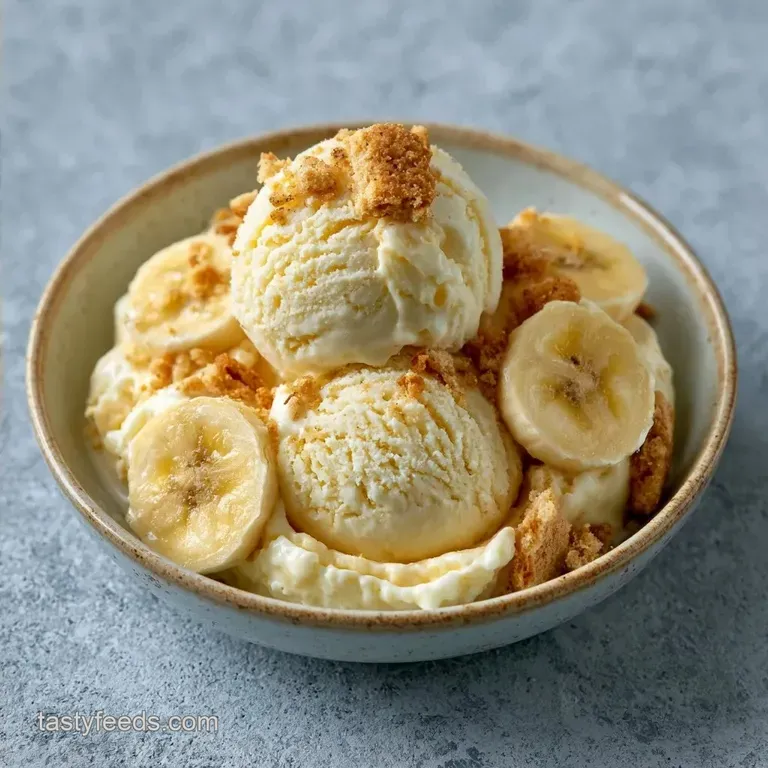
- Time: 15 min active + 4 hours 10 mins chilling
- Flavor/Texture Hook: Rich banana cream with crunchy wafer pockets
- Perfect for: Summer parties, dessert lovers, and beginner cooks
When bananas get that intense, sweet aroma of being way past their prime, most people think of banana bread. For me, however, that's the signal to get the ice cream maker ready. I once attempted to freeze a bowl of actual pudding, only for it to turn into a solid block of ice.
I spent an entire hour fighting with a scoop while my freezer door stood wide open, letting all the chilled air escape.
That experience taught me that you can't simply freeze pudding; you need a base specifically designed for the cold. This recipe delivers a creamy, chilled version of that beloved nostalgic dessert. It captures that classic diner feel but tastes cleaner since you can adjust the sugar yourself.
In my home, making Banana Pudding Ice Cream is practically a love language. It's the sort of dessert that brings a sudden hush to the room as everyone starts eating. The goal is all about the contrast: silky, frozen cream paired with the satisfying snap of vanilla wafers.
Why the Texture Works
Natural Pectin: Overripe bananas contain pectin and sugars that stop large ice crystals from forming. This keeps the scoop smooth rather than icy.
Fat Balance: Mixing heavy cream and whole milk creates a specific density. This mimics a high end ice cream and gives it that slow melt quality.
If you find yourself with too many bananas, my banana muffins recipe is another great way to use them before they get too soft.
Ingredient Roles
| Component | Purpose | Substitute Notes |
|---|---|---|
| Overripe Bananas | Base flavor and stability | Frozen banana puree: Works, but blend longer |
| Heavy Whipping Cream | Provides creaminess and air | Full fat coconut milk: Similar fat, adds coconut taste |
| Vanilla Wafers | Textural contrast | Nilla Wafers or Graham crackers: Both work well |
| Granulated Sugar | Sweetness and freezing point | Maple syrup: Use 1/2 cup; makes it slightly more liquid |
Recipe Specs
Here are the details. This recipe yields about 6 servings. You'll need 15 minutes for prep and 10 minutes for the "cooking" (blending) part. The total time is 4 hours 25 mins, as the freezing process requires the most patience.
Chef Note: Opt for bananas that are nearly black. Yellow ones lack the sugar necessary to blend into a smooth syrup.
Equipment Needed
While professional gear isn't required, a few key tools will make the process much smoother. A high speed blender is best for preparing the base. You will also need an ice cream maker, a freezer safe container, and a silicone spatula for folding.
If you lack a silicone one, a sturdy rubber spatula works, though silicone is more effective at preventing the mixture from deflating.
Making the Frozen Treat
Blending the Base
Add the mashed bananas, sugar, and salt to your blender. Run on high until the mixture is a pale, golden syrup and no sugar crystals remain. This takes about 2 minutes.
Incorporating the Cream
Pour in the vanilla extract, whole milk, and heavy cream. Pulse for 10-15 seconds until just combined. Be careful not to over blend, as the cream can separate into butter inside the blender.
Churning the Ice Cream
Transfer the liquid into your ice cream maker. Churn according to the machine's instructions, typically 20-25 minutes, until it looks like thick, swirling ribbons of soft serve.
Folding in Extras
Scoop the ice cream into a bowl. Gently fold in the sliced bananas and crushed vanilla wafers using a spatula. Do this carefully to keep those pockets of cookies and fruit intact.
The Final Set
Place the ice cream in a container. Freeze for at least 4 hours until firm enough to scoop.
If you're looking for another comforting banana treat, you might enjoy this banana zucchini bread for its similar warmth.
Fixing Common Issues
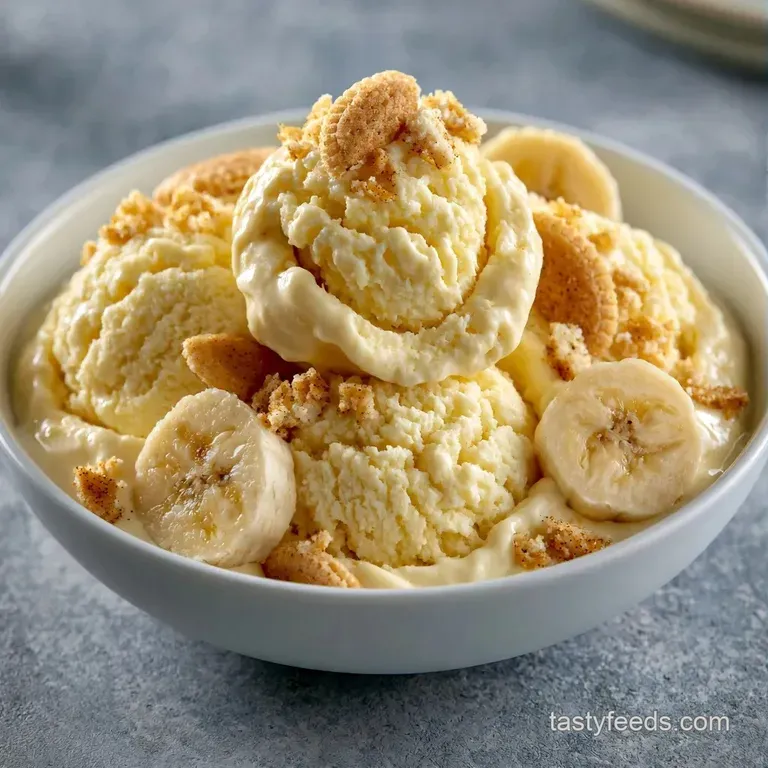
When things go wrong with ice cream, it's usually a temperature or fat issue. If the base is too warm, you get crystals. If you blend too much, you get butter.
Fixing Grainy Ice Cream
This happens when the sugar doesn't dissolve or the base is too warm. Make sure your cream and milk are ice cold before they hit the blender. The salt also helps lower the freezing point to keep it smooth.
Handling Butter Texture
If you see tiny yellow clumps, you over blended the cream. It's still edible, but next time, just pulse the dairy for a few seconds.
Too Much Ice
This usually means there wasn't enough fat or sugar to keep the water from freezing solid. Stick to the full fat cream and whole milk for the best result.
| Problem | Fix |
|---|---|
| Grainy texture | Use ice cold dairy and blend sugar longer |
| Butter clumps | Pulse dairy briefly; do not blend on high |
| Too hard to scoop | Let sit at room temp for 5 minutes |
Fresh vs Shortcut Base
I've tried using store-bought banana puree to save time. It's faster, but the flavor is different.
| Feature | Fresh Overripe Bananas | store-bought Puree |
|---|---|---|
| Flavor | Bright, natural sweetness | Slightly metallic or muted |
| Texture | Naturally silky | Often thicker/syrupy |
| Effort | 5 mins mashing | 0 mins |
Common Kitchen Myths
Some believe a cooked custard base is essential for a professional texture, but that isn't the case here. Thanks to the natural pectin found in bananas, you'll get a smooth consistency without needing the stove.
Similarly, don't be fooled by the idea that "premium" ice cream requires more than a standard freezer. As long as you have a reliable churn and an airtight container, your home freezer handles the hardening process perfectly.
Storage and Scraping
Store your ice cream in a freezer safe tub. Press a piece of parchment paper directly onto the surface of the ice cream before putting the lid on. This stops ice crystals from forming on top. It stays good for about 2 weeks, though you'll likely eat it faster.
For zero waste, don't toss the banana peels if you compost. If you have leftover vanilla wafers that are slightly stale, toast them in the oven for 3 minutes at 300°F before crushing them for the mix ins. It brings back the crunch.
Serving Your Scoop
To get those perfect rounds, dip your scoop in warm water between every single scoop. This prevents the ice cream from sticking and keeps the edges clean.
For a fun twist, serve this in a chilled glass bowl with a whole vanilla wafer sticking out of the top. A drizzle of honey or a sprinkle of cinnamon on top adds a nice touch of warmth.
Creative Swaps
Depending on what you have in the pantry, you can change the vibe of this dish.
- For a firmer set: Chill the blended base in the fridge for 2 hours before churning.
- For a richer taste: Swap the whole milk for half and half.
- For a different crunch: Use crushed gingersnaps instead of vanilla wafers.
If you want to get fancy, you can make a Banana Pudding Ice Cream Bars Recipe. Pour the mixture into a silicone bar mold, add the cookie chunks, and freeze. Once set, dip them in melted dark chocolate.
Another option is a Banana Pudding Ice Cream Sandwich. Use two soft banana cookies and put a thick slice of the frozen treat in the middle. It's a total win for parties.
Right then, you're all set. Whether you're making this as a quick treat or a big batch for the family, the key is those overripe bananas. Trust the process, don't over blend your cream, and enjoy that nostalgic, creamy flavor.
Homemade Banana Pudding Ice Cream is just better when it's made with love and a few very brown bananas. Enjoy your Easy Banana Pudding Ice Cream!
Recipe FAQs
How to turn banana pudding into ice cream?
Blend mashed bananas, sugar, and salt until smooth, then pulse in the cream, milk, and vanilla before churning.
Tip: avoid over blending the liquids to prevent the cream from turning into butter.
Is it true that only yellow bananas work for the base?
No, this is a common misconception. Overripe bananas provide the strongest flavor and natural sweetness required for the base.
Tip: choose fruit with plenty of brown spots for the richest taste.
Can I use vanilla wafers that have gone stale?
Yes, you can revive them by toasting them in the oven for 3 minutes at 300°F.
Tip: this process restores the crunch before you fold them into the churned ice cream.
Why does freezer burn often form on top of homemade ice cream?
Prevent ice crystals from developing on the surface by pressing parchment paper directly against the ice cream before sealing the lid.
Tip: If you enjoyed learning about texture control, try applying these ideas to our blueberry muffins.
Banana Pudding Ice Cream in 40 Minutes