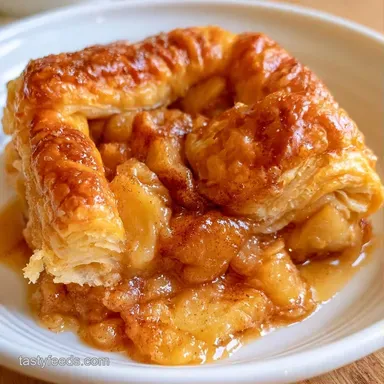
Apple Squares
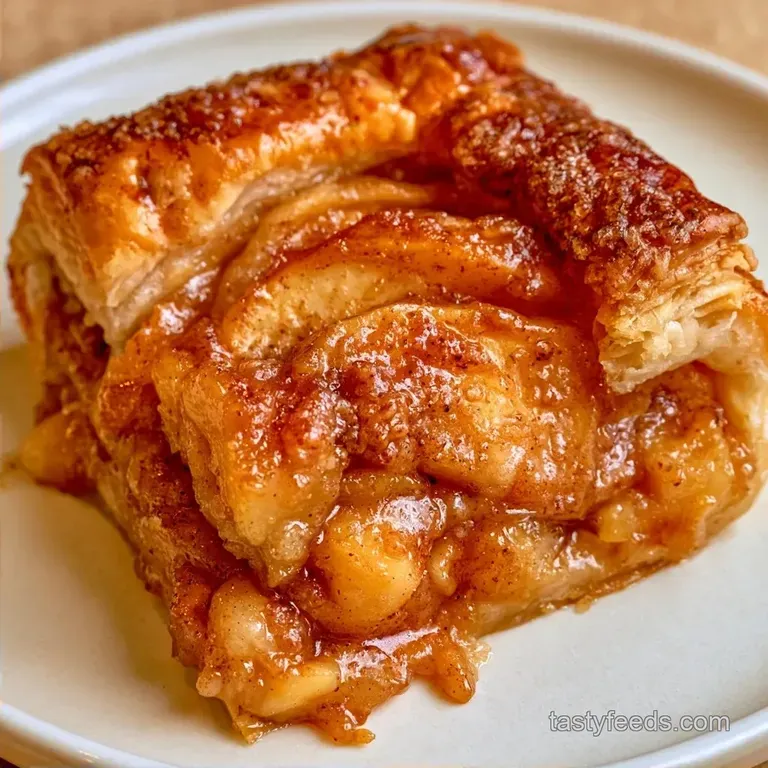
- Time: 20 minutes of prep plus 60 minutes in the oven
- Taste & Feel: A rich, buttery shortbread paired with a jammy, cinnamon-infused center
- Ideal for: Shared parties, festive platters, or a relaxing weekend indulgence
Have you ever noticed how some fruit bars lose their crunch and become mushy? I once attempted to bypass the initial bake for these Apple Squares, and the result was as limp as wet cardboard. Despite the wonderful aroma of cinnamon filling the air, the mouthfeel was a complete failure.
The secret lies in creating a protective layer. By blind baking the crust first, you build a barrier that stops the apple juices from seeping into the pastry. This guarantees a sharp contrast between the buttery foundation and the tender topping in every mouthful.
I spent countless hours perfecting the fruit proportions to ensure a generous, jammy filling that stays put. These Apple Squares are my way of sharing love through baking, crafted to bring a cozy, autumnal vibe to your home no matter the time of year.
Homemade Apple Squares
The key here is the moisture control. Apples release a lot of water when they hit the heat, and without a plan, that water ruins the crust. By using a mix of cornstarch and lemon juice, we stabilize the fruit.
The Pre Bake Seal: Toasting the crust first creates a toasted barrier. This stops the fruit from leaking into the dough, which is a similar logic to how a Apple Crisp recipe manages its juicy base.
Starch Grip: Cornstarch binds with the apple juices to create a thick, jammy consistency. This prevents the bars from falling apart when you slice them.
Temperature Contrast: Using chilled butter for the base and softened butter for the topping gives you two different textures. You get a shattering bottom and a clumpier, more rustic top.
| Method | Time | Texture | Best For |
|---|---|---|---|
| Fast (No Pre bake) | 45 mins | Soft, cake like | Quick weeknight treat |
| Classic (Pre baked) | 80 mins | Crisp, layered | Parties and gifting |
Gear You'll Need
Specialized equipment isn't required, though certain items simplify the process. To keep the timing precise, a 9x13 inch baking pan is mandatory. I recommend metal over glass for better heat conductivity, which helps the Apple Squares develop a deep mahogany color.
While I use a pastry cutter for the crust, a fork is a great alternative. Work the butter in quickly to prevent it from melting due to the heat of your hands. Additionally, parchment paper is essential, as it allows you to lift the entire block from the pan for easier slicing.
For the apples, a sharp chef's knife is essential. Aim for uniform quarter inch cubes. If the pieces vary too much in size, they will cook at different rates, leaving you with a mix of mushy and undercooked chunks.
Ingredient Deep Dive
The choice of apple determines the overall character of the dessert. I prefer Granny Smith for a zesty tartness, while Honeycrisp is my go-to for a more natural sweetness.
| Component | Purpose | Substitute Notes |
|---|---|---|
| Chilled Butter | Ensures a flaky crust | Coconut oil: Works, though it lacks that buttery flavor |
| Cornstarch | Thickens fruit juices | Flour: Use 2 tbsp; slightly less stable |
| Rolled Oats | Provides a rustic crunch | Almond meal: Grain free, but results in a softer texture |
| Lemon Juice | Stops oxidation/browning | Apple cider vinegar: Provides similar acidity |
Lemon juice offers more than just visual brightness. It balances the sweetness to let the apple flavor truly stand out. Without it, the filling can feel a bit one-dimensional.
Key Recipe Specs
Start by ensuring your butter is at the correct temperature. Cold, cubed butter is essential for the crust to create steam pockets, whereas softened butter is needed for the oat topping to clump properly.
For these Apple Squares, I suggest getting the fruit ready first. Once coated in cinnamon and sugar, let the apples rest for 10-15 minutes while you make the crust; this gives the cornstarch time to hydrate for a better set.
Be mindful of your oven's calibration. If it runs too hot, the topping may brown before the apples are fully tender. An oven thermometer can prevent a burnt crust.
Ingredients List
The Shortbread Base
- 2 cups (250g) All purpose flourReason: Gives the base its structure
- ½ cup (115g) Unsalted butter, chilled and cubedReason: Ensures a flaky, crisp texture
- ⅓ cup (65g) Granulated sugarReason: For subtle sweetness and gold coloring
- ¼ tsp (1.5g) Fine sea saltReason: Offsets the sugar
The Spiced Filling
- 6 cups (900g) Granny Smith or Honeycrisp apples, peeled and finely dicedReason: These varieties keep their shape
- ½ cup (100g) Light brown sugar, packedReason: Adds a rich molasses flavor
- 2 tbsp (16g) CornstarchReason: Stops the center from becoming runny
- 1 tbsp (8g) Ground cinnamonReason: Provides warm autumn notes
- 1 tbsp (15ml) Lemon juiceReason: Prevents browning and adds brightness
- 1 tsp (5ml) Vanilla extractReason: Enhances the overall sweetness
The Crumble Topping
- 1 cup (125g) All purpose flourReason: Acts as a binder
- ½ cup (50g) Rolled oatsReason: Adds a nutty, hearty crunch
- ½ cup (100g) Brown sugarReason: Helps achieve a deep caramelized finish
- ½ cup (115g) Unsalted butter, softenedReason: Helps the topping clump together
- ½ tsp (3g) Ground cinnamonReason: Complements the filling
Bringing It Together
1. Engineering the Base
Set your oven to 350°F (175°C). Line a 9x13 inch pan with parchment paper, leaving an inch of overhang on the sides. In a bowl, stir the flour, sugar, and salt. Cut in the chilled butter using a fork or pastry blender until you see coarse crumbs.
Press the dough firmly into the pan. Use the bottom of a measuring cup to get it even. Bake for 15-18 minutes until the edges are barely golden. You'll smell a toasted, buttery aroma when it's ready. Take it out and let it cool for a few minutes.
2. Preparing the Fruit Layer
Grab a large bowl and toss your diced apples with lemon juice, cinnamon, brown sugar, and cornstarch. Stir in the vanilla extract. Make sure every single piece of apple is coated in the starch.
Spread this mixture over your pre baked crust. Use a spatula to level it out so the Apple Squares have a consistent thickness. If you leave a big mound in the middle, it'll take longer to cook and might stay gummy.
3. Adding the Crunch and Baking
In a separate bowl, mix the flour, oats, brown sugar, and cinnamon. Use your fingers to work the softened butter into the dry ingredients. Keep going until you see clumps forming.
Sprinkle the crumble evenly over the apples. Put the pan back in the oven and bake for 42-45 minutes until the topping is golden brown and the fruit bubbles at the edges. The smell should be deeply caramelized and warm.
4. The Cooling Phase
This is the hardest part. Let the Apple Squares cool in the pan for at least 30 minutes. If you cut them while they're piping hot, the filling will run. The cornstarch needs time to set as the temperature drops.
Once cooled, lift the parchment paper to move the block to a cutting board. Use a sharp knife to trim the edges for clean lines, then cut into 24 equal squares.
Common Pitfalls Fixed
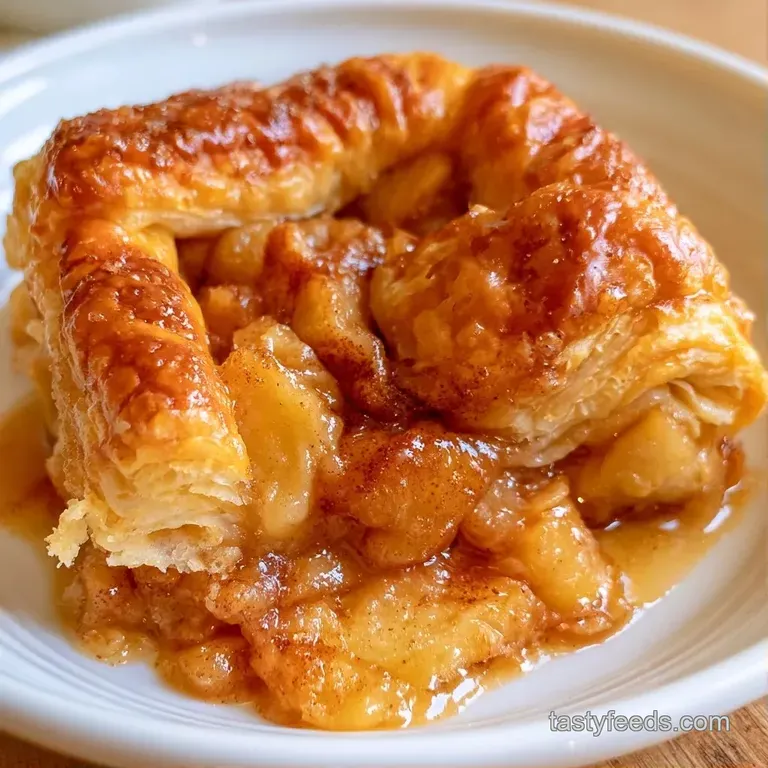
Fixing a Gummy Center
If the middle feels too soft or "wet," it's usually because the apples released more moisture than expected. Next time, ensure your apples are diced uniformly. If it happens now, you can pop them back in the oven for 5-10 minutes at 325°F to dry it out a bit.
Managing a Burnt Topping
Crumble toppings can brown quickly. If the top is getting too dark but the apples aren't bubbling, loosely cover the pan with aluminum foil. This reflects some heat and allows the fruit to finish cooking without burning the oats.
Solving a Cracking Crust
If the base cracks when you press it in, you might have over worked the dough or the butter was too cold. Just press the cracks back together with your fingers. It won't affect the taste, and once the Apple Squares are baked, the cracks usually disappear.
Avoiding Runny Filling
A runny center happens when cornstarch isn't distributed well. Always toss the apples thoroughly. Serious Eats' testing suggests that ensuring a thin, even coating of starch on each piece of fruit is what prevents a soup like consistency.
Sizing Your Batch
To scale down the recipe, you can halve the ingredients and use an 8x8 inch square pan. Reduce the crust's baking time by approximately 20% and monitor the final bake closely. Since this recipe is egg-free, scaling is simple, though any substitute binder should be beaten well before adding.
If you're doubling the batch, I recommend splitting the mixture between two separate pans. Do not simply double the depth in one pan, or the center of the Apple Squares will not cook through properly.
If you use a large commercial sheet pan instead, increase the filling by 1.5x rather than 2x to maintain the right proportions.
Be cautious with the cinnamon when doubling the topping, as spices can become too intense if scaled linearly. I find that increasing the cinnamon by only 1.5x keeps the flavor perfectly balanced.
Baking Myths Debunked
You might hear that you have to peel apples to get a better texture. While peeling makes for a more uniform look, leaving the skin on actually adds more pectin. This can make the Apple Squares set even firmer, though the texture is a bit more rustic.
Another common belief is that you need a food processor for the crust. You don't. A fork and some elbow grease work just as well. In fact, hand cutting the butter often prevents over mixing, which keeps the crust from becoming too tough.
Some say you must use only Granny Smith apples. While they're great, a mix of Honeycrisp and Braeburn can add a more complex sweetness. The only rule is to avoid "mealy" apples like Red Delicious, which collapse into mush.
Saving Your Leftovers
Keep these in an airtight plastic container in the fridge for around 4 days. I've noticed that the flavors actually intensify after a day of chilling. If left on the counter, they remain good for about 2 days, though the crust may lose some crispness.
To preserve the Apple Squares longer, you can freeze them. Wrap the bars individually in parchment paper and move them into a freezer bag for up to 3 months. To serve, either thaw them in the refrigerator overnight or microwave them for 20 seconds.
Don't toss the apple peels. I like to simmer them in a pot with water and cinnamon to give the entire house a cozy bakery scent. Otherwise, they serve as great compost for your garden.
Changing Your Ingredients
If you want a different twist, try adding a pinch of ground nutmeg or ginger to the filling. For a richer treat, you can swap some of the flour in the topping for almond flour, which gives a nuttier, more buttery finish.
For those looking for a different apple dessert entirely, you might enjoy Apple Brownies for something more chocolatey. If you prefer a gluten-free version of these Apple Squares, you can use a 1:1 gluten-free flour blend, but be aware that the crust will be slightly more fragile.
For a low sugar option, you can replace the brown sugar in the topping with a monk fruit sweetener. However, keep in mind that sugar helps with the browning process, so the top may stay paler than usual.
Serving Suggestions
These Apple Squares are great on their own, but a dollop of whipped cream or a scoop of vanilla bean ice cream takes them to another level. The cold cream against the warm, spiced fruit is a great contrast.
For a more refined presentation, dust the top with a little powdered sugar right before serving. It gives them a polished look that's great for guests. I also love serving them alongside a hot cup of Earl Grey tea or a strong coffee.
If you're serving these at a party, I suggest cutting them into smaller 1 inch bites. It makes them easier to eat while standing and allows people to try other treats. These Apple Squares are a crowd pleaser because they provide all the comfort of a pie without the mess of a slice.
Trust me on this, the best way to enjoy these Apple Squares is slightly warmed. Just 10 seconds in the microwave brings back that fresh from the oven aroma and softens the butter in the crust. It's a little slice of autumn in every bite.
Recipe FAQs
How to assemble these apple squares?
Press the shortbread dough into a parchment lined 9x13 pan and pre-bake for 15-18 minutes. Spread the seasoned apple mixture on top, add the oat crumble, and bake for 42-45 minutes.
Which topping provides the best texture?
A cinnamon oat crumble is ideal here. It adds a satisfying crunch that contrasts with the jammy apple center.
What prevents the crust from getting soggy?
Pre-baking the shortbread base creates a protective seal. This barrier stops the apple juices from soaking into the dough during the final bake.
Does a 9x13 pan work best for this recipe?
This pan size is recommended to keep the layers thick and jammy. Using a larger sheet pan would make the bars too thin and likely to overcook.
Why are these better than standard apple pie?
They offer a concentrated flavor in a convenient handheld format. You get the same spiced apple experience without the hassle of rolling out a full pie crust.
Ways to present these for a holiday party?
Cut them into small, uniform squares and stack them in a pyramid. If you enjoyed the texture balance here, see how the same principle of moist cake and creamy frosting works in our carrot cake.
Can different apple varieties be used?
Granny Smith or Honeycrisp work best because they hold their shape. Sweeter apples tend to break down too much and become mushy.
Is it true that cornstarch is unnecessary for the filling?
False. Cornstarch binds the fruit juices to ensure the squares hold their shape when sliced.